How to Delete History on iPad
Most of the iPad users come to Internet for help when they try to delete history on iPad, but the information they gain from the Internet doesn't word actually, they can never press the button "Clear History". So, is there any easy and effective way to delete history on iPad?
If you don’t want to leak your privacy out to some circumstance, you should rely on iPhone Data Eraser before you pass away the old iPad. iPhone Data Eraser as a professional software, aiming at deleting data from iPad, iPad mini with Retina display, iPad Air, iPhone 5s/5c/5/4S/4/3GS and iPod. You can follow this step-to-step guide to erase all your iPad data and make it as new as before. It can not only delete history, but also clean other data. As a result, the deleted data cannot be recovered by any recovery tool in the market.
Note: You had better backup your important data before operate the deleting process.


How to Delete History on iPad
Step 1. Launch the program and connect your iPad to the computer
Run iPhone Data Eraser program after downloading and installing it on your computer. Then connect your device to the computer via USB cable and you will get the following window.
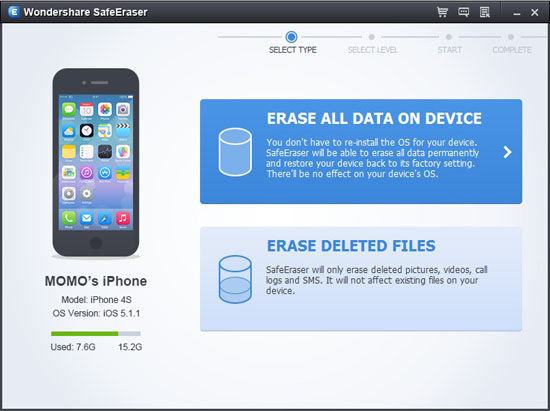
Step 2. Choose "Erase All Data on Device"
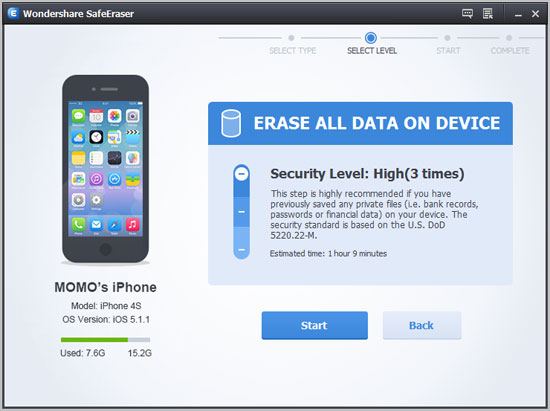
Step 3. Erase all data on your iPad
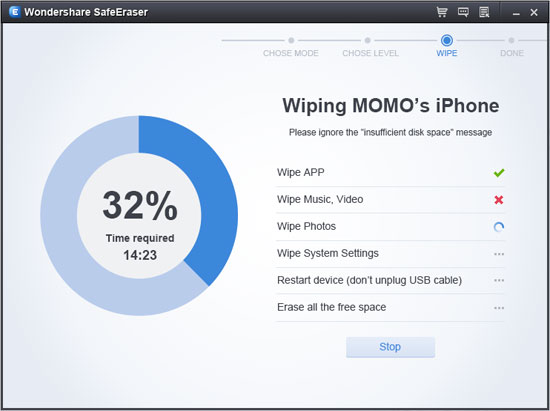
You will find three security levels to erase all data on your iPad. Choose one of them base on your requirement and click "Start" button to begin erasing history on your iPad.
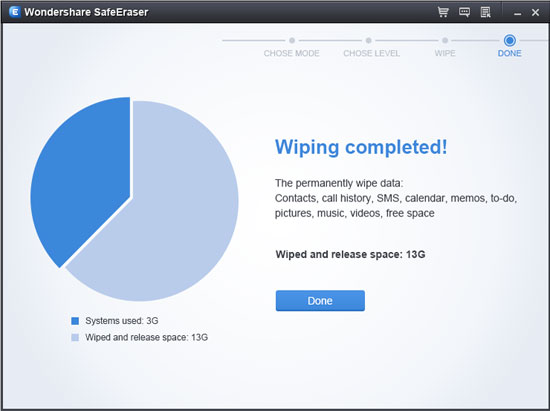
Step 4. Click "Done" and the wiping completed
After the history on iPad wiped permanently, you can click "Done" button to end it. Now, you can get your iPad as a brand new one as you expected.