How to Restore iPad After Jailbreak
As we all know that jailbreak can bring us more conveniences to use more free apps. But accidents may happen sometimes. Once you lost your data or fail to jailbreak, is there any tools or solution to help? Don’t worry. iPad Data Recovery can give you a hand. Now let’s see how it works for you.
iPad Data Recovery(Windows) and iPad Data Recovery(Mac), both of them are special-designed to help iPad users to recover their lost data with a few clicks. With the help ot this software, all the data in your iTunes backup can be extract and restored on your computer. What’s more, it enable you to preview your iPad contacts, photos, videos, etc on your computer.


How to Restore iPad After Jailbreak
Step 1. Choose the iPad model
You will get an interface of selecting iPad type when you finished installing and running iPad Data Recovery. Now, please choose the one you want and go ahead.
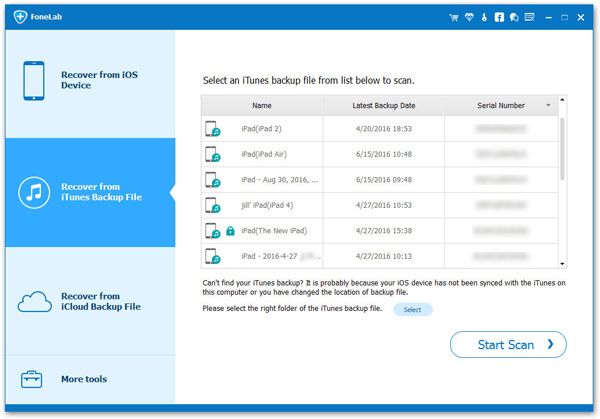
At this moment, your responsibility is to choose the iTunes backup you wish to extract data from. After that, you will see all the iTunes backup history will be displayed. Click "Start Scan" button after choosing the one you want.
Note: Pay attention that not to connect your device with your computer when the recovery is running on. The old one will be overwritten by the new backup then you won't be able to recover your lost data.
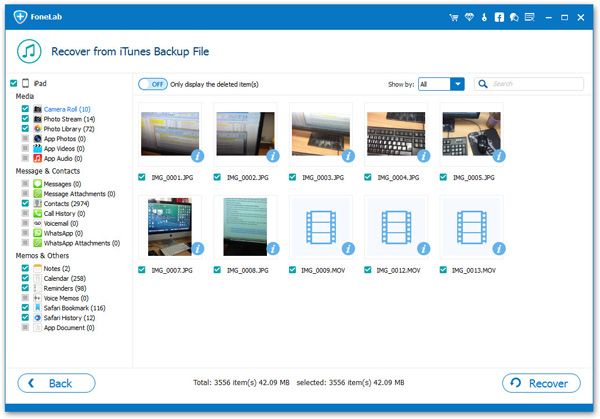
Step 2. You need to restore data on jailbreak failure
When the scanning is over, you will see messages, contacts, camera roll, notes, photo stream, safari bookmarks etc displayed and listed on the left side. You can browse the details in the main interface by clicking the small square. Click "Recovery" button when you finished marking the one you want.
Step 3. Do remember to backup your iPad data well
Do remember to backup your iPad data well and keep it as regular. You can get a lot of conveniences of it.

