How to Transfer Voice Memos from iPhone to Computer in 4 Ways
There is no doubt that smartphones are an indispensable part of our daily lives. Voice Memo app is really a helpful app for people to record something that cannot be noted down in a short time, record something important but they think they will forget later. It is widely used to record users' interviews, even lectures and other interesting or important thing. However, the storage space of the iPhone is limited, and saving various types of files every day really takes up space. You can transfer data to other places to free up space on your phone. If you have a similar query about the transfer of voice memos from iPhone to computer, then you have come to the right place.
Following are 4 ways for you to transfer the memos from your iPhone to computer to free up the space on your iPhone. Choose the way that suits you to complete the transmission of your voice memo.Method 1. How to Transfer Voice Memos via Mail/Email on iPhone
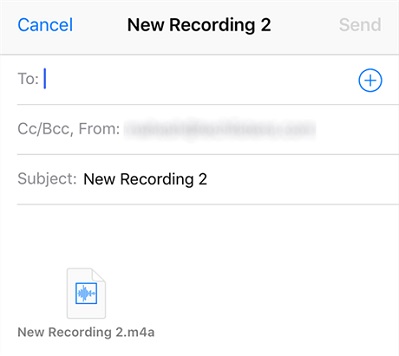
Email is a good way to transfer a small amount of voice memos from iPhone to computer. Just attach the memo to the email and send the email to yourself. Log in to your email account on your computer and download the memo to your computer, you can easily move your voice memo.Step 1. Launch the Voice Memos app on your iPhone.
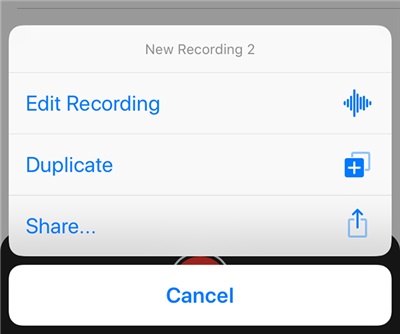
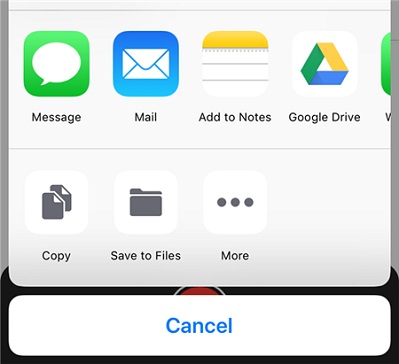
Step 2. View and select the memo you want to transfer, click its three dots and then click the "share" option.

Method 2. How to Sync All Voice Memos to Computer With iTunes
If you prefer to use iTunes to transfer your iOS data, you can follow this way to sync your iPhone’s voice memos to computer.Note: This way will sync all the contents of your iPhone with your computer.
Step 1. Run iTunes app on your computer and connect your iPhone to it.If you are connecting your iPhone for the first time, then you need to trust the computer on iPhone. Step 2. After the iPhone is detected, turn to the devices section and select it.
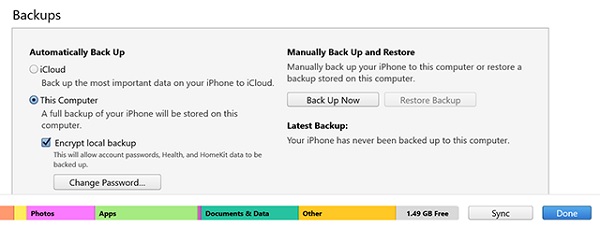
Step 3. Find the "Summary" option in the left column and select it. Find and click the button that shows synchronization on the right panel of the interface.Step 4. When all the content is synchronized, you can find the voice memo on your computer. If you don't know where the synchronized data is saved, you can find the voice memo file according to the following path.
Mac – /Users/username/Music/iTunes/iTunes Media/Voice MemosWindows – C:\Users\username\Music\iTunes\iTunes Media\Voice Memos
Method 3. How to Copy Voice Memos from iPhone to Computer with iPhone Data Transfer
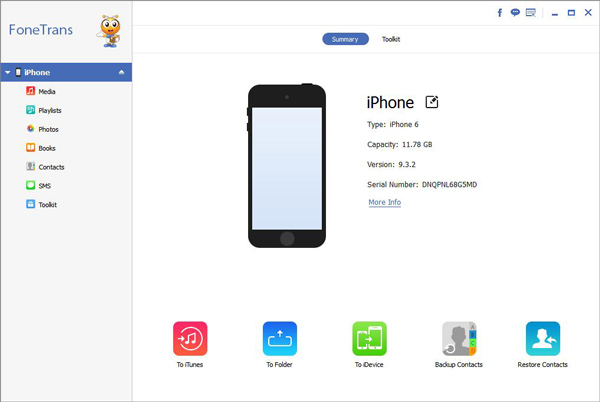
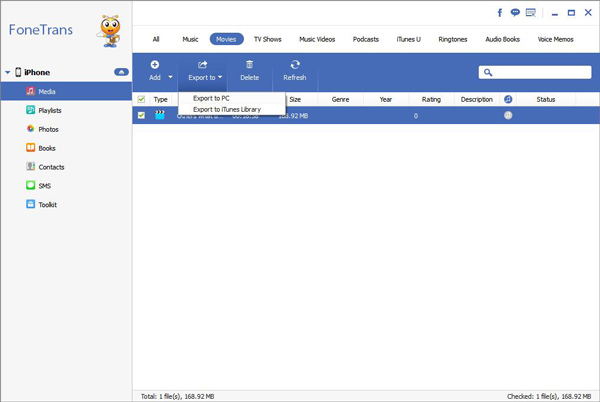
This part is going to show you another smart solution to transfer voice memos from iPhone to PC or Mac. iPhone Data Transfer is a multi-functional iOS Data Transfer tool that can transfer different types of data from iPhone, iPad, iPod to computer, whether the data you want to transfer is voice memos, photos, videos, memos, or other files. This method supports previewing and selecting the data you need to transfer, making data management more concise and effective.Here are the instructions for how to get voice memos from iPhone to computer with iPhone Data Transfer, which you can follow to try.
Step 1. Launch iPhone Data Transfer on computer, and connect iPhone to it via USB cable, press "Trust" on iPhone screen, the software will detect iPhone and show it’s interface on the windows.


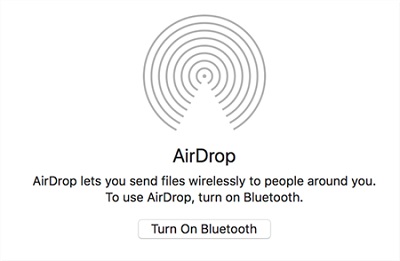
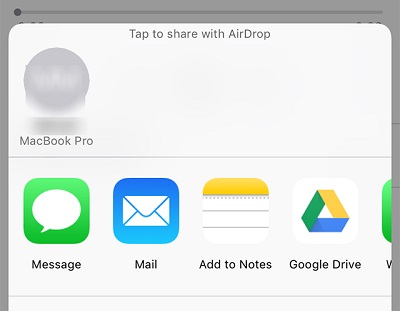
Method 4. How to Send Voice Memos from iPhone to Mac via AirDrop
AirDrop has the feature of sharing files between Apple devices. You can send voice memos from your iPhone over to your Mac machine via AirDrop. Using AirDrop to send voice memos on iPhone is similar to the steps of transferring via mail/email in Method 1.Open Voice Memos app on iPhone and choose the data you want to share > Tap on the three-dots > Select Share > Select AirDrop > Tap the target device to AirDrop your voice memo (Turn on AirDrop on target device and allow it be discovered by everyone).