How to Convert Image Files From HEIC To PNG
The HEIC image format can optimize the file size while ensuring the quality of the image. After updating the iOS 11, Apple starts using the HEIC image format. Even though this format greatly optimizes pictures, there are still limitations, such as incompatibility. Some other equipment and software still require JPG, JPEG or PNG format. For example, if you cannot open iPhone images on your computer, it will be difficult for you to view, edit and print them. Therefore, you need a simple and effective way to directly convert the image format.
HEIC Converter is the professional and secure tool for iPhone/iPad/iPod users to convert photos from HEIC to other image formats. With the easy user interface, it supports you to converter HEIC to PNG, JPG and JPEG image format locally. The HEIC Converter application allows you to converting format (JPEG) instead of uploading private photos over the Internet.Key Features About HEIC Converter Software:
- Convert HEIC/HEIF files with super fast speed.- Batch convert HEIC files automatically with no file size limits at a time.
- Keep EXIF data of HEIC files in one click.- Change the image quality between 0% to 100%.
- Completely compatible with all iOS devices.Here is step-by-step guide of how to convert image files from HEIC To PNG. Both Window and Mac version are available.


How to Convert HEIC Files to PNG
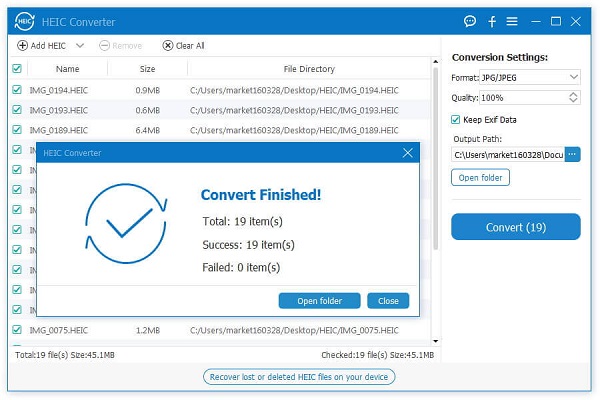
Step 1. Download, install the HEIC converter software on computer and finish the setup process, launch it, you will see the main screen, the software will require you to drag HEIC files or click "Add HEIC" button to add files from your computer to the Converter. Please do as required to add all PNG files you need. For HEIC photos from iOS devices, go to "This PC\Device Name\Internal Storage\DCIM".