How to Clean Up iPad Memory Garbage Effectively
As a high-end mobile device, iPad is powerful and easy to use, and is loved by many users. However, over time, iPad's memory garbage will increase, affecting the performance and usability of the device.Therefore, it is important to clean up iPad's memory garbage. This article will detail how to clean up iPad's memory garbage, helping you optimize device performance and improve usability.
First of all, we need to understand what is iPad's memory garbage. In simple terms, memory garbage is those files and data that you no longer need but still occupy your device's storage space. These files may include temporary files, cache files, incomplete downloads, etc.Now, let's take a look at how to manually clean up memory garbage.
1. Delete unnecessary applications
If you have many apps installed on your iPad, but some of them you hardly use, you can consider deleting them.Open the Settings app, select General, and then click iPad Storage. Here, you can see all installed apps and the storage space they occupy. Display them in order of the size of the space occupied by the program.Select the app you want to delete, and then click Delete App.Uninstalling the app will free up the storage space occupied by the app, but the data inside will remain. If you download and reinstall the app, your data will be restored. However, deleting the app will delete all related data from this iPad, and this operation cannot be undone.2. Clear the cache of the browser and application
Browser cache may also occupy a lot of memory space.You can find this option in Settings > Safari > Clear History and Site Data. This will clear all browsing history and cache data, thus freeing up a lot of memory. If you are using other browsers, you can also clear the cache by clearing the history. Many applications also occupy a lot of space on iPad, which can be cleared by entering the app and then clearing the cache in Settings, freeing up more storage space.3. Delete unnecessary photos and videos
If you like to use your iPad to take photos, a large amount of photos and videos will be saved, which will occupy a lot of space over time. It is best to regularly clean up unnecessary photos and videos, which will also make it easier to view your photo albums. It is important to note that it is necessary to back up important data such as photos and videos on your iPad to prevent accidental loss of data in the future.Cleaning up the memory garbage on your iPad can not only improve the device's operating speed, but also free up more storage space, making your device more efficient. If you want to find a safe simply and efficient way to erase various types of data, iPad Data Eraser software can meet your requirements, it can delete all content or delete the content you choose, and you can selectively delete images, call logs, notes, voicemail, voice memos, whatsApp, contacts, text messages, iMessages, weChats, Viber, Line and others.
Steps to Erase iPad Data
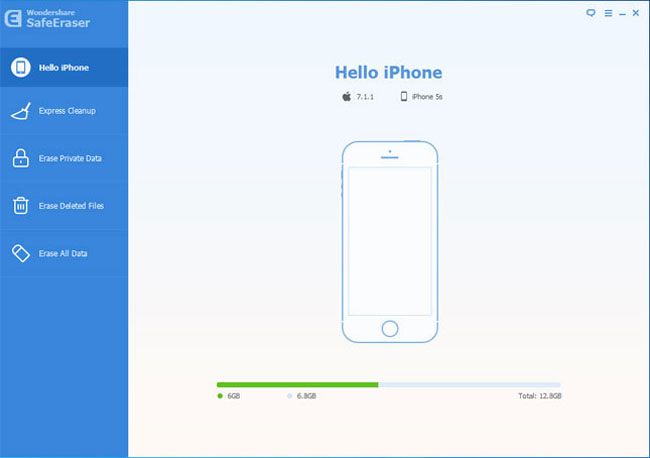
Step 1. Link iPad
Download, install the iPad data eraser software on computer and finish the setup process, launch it. Using a usb cable to connect your iPad to computer, you will see a tips "Failed to connect" on the interface. Pick up your iPad, unlock it and press "Trust" on iPad screen to left iPad trust this PC, then the software will detect iPad and show it on the software.
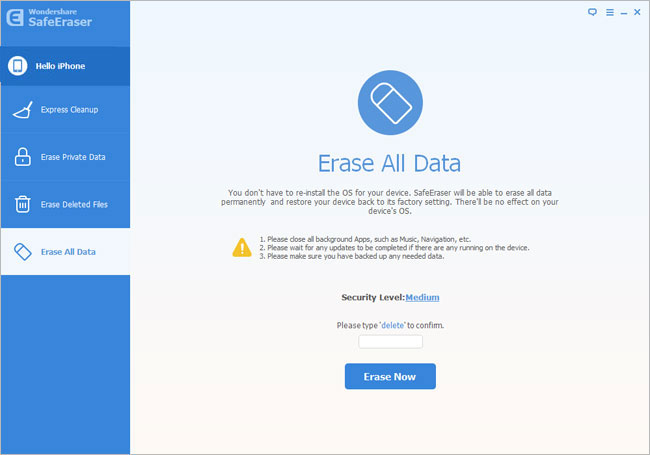
Step 2. Choose delete mode
On left sidebar, you can see many delete mode like express cleanup, erase private data, erase deleted files, erase all data, we take "erase all data" as a example, tap it. Now you need to tap on the word "delete" and following with a click on "Erase Now". When you conduct this part, you need to confirm that you have decided to erase these data but not mistakenly press it.Note: "Security Level" can be changed through press on "Medium".
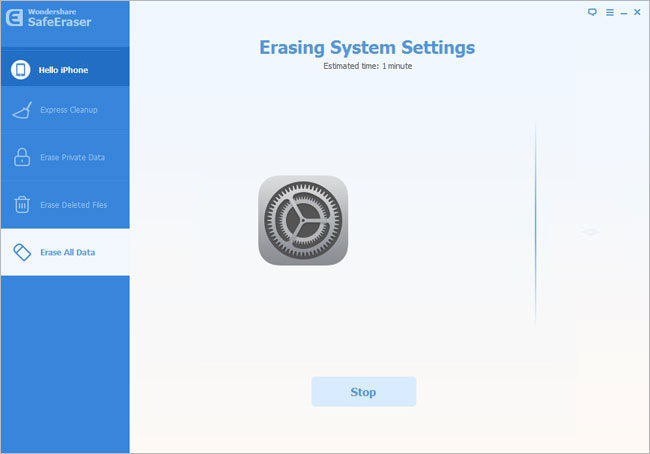
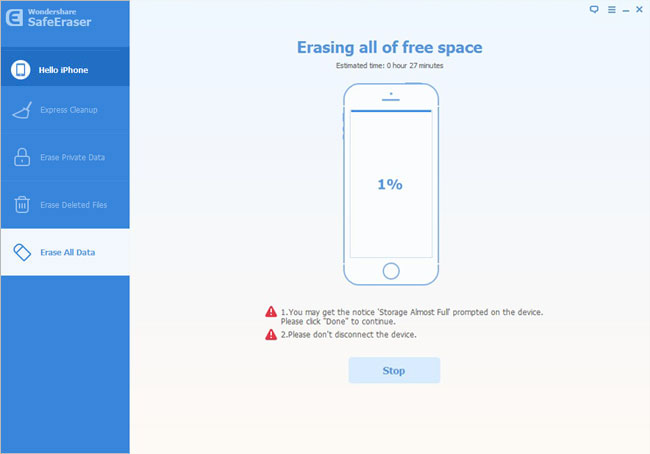
Step 3. Erase data
Now the software will start erase process, all data which store on your iPad will be totally deleted by the software. After that, your iPad will power off and restart.