How to Built and Share Photo Album on iPhone
Did you take a lot of wonderful photos on your iPhone when you went out to participate in activities, or enjoy a pleasant journey? For photos of the same series, you can put them all in one album, or share album photos with your friends. If you don't know much about creating new albums, and haven't tried sharing an entire album, you can follow the instructions in this article to do so.
Part 1: How to Create a New Shared Album on iPhone
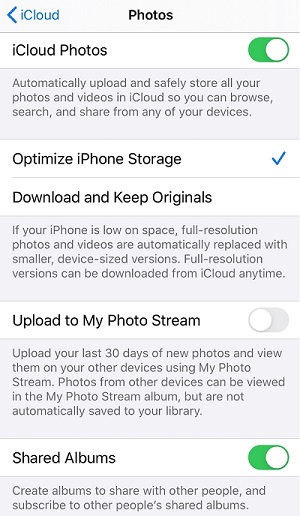
The iPhone has a built-in feature that allows users to create shared albums and invite others to view photos in shared albums.First you need to activate this function: enter Settings-your profile, click icloud. In the interface turn on iCloud Photos, turn on Shared albums.
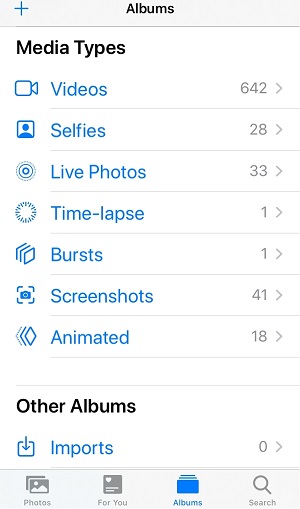
Switch to the Photos app, click on Albums in the lower right corner, click on the "+" in the upper left corner.
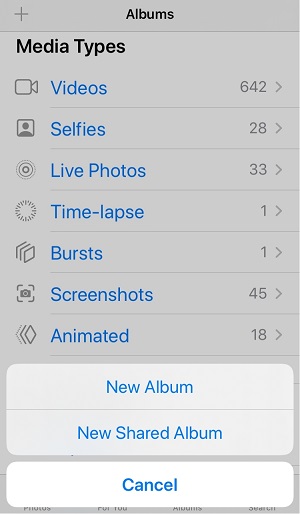
After that, two options "New Album" and "New Shared Album" will pop up, here select New Shared Album.
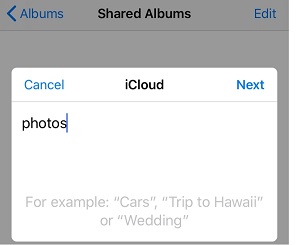
Then a page will pop up asking you to name Shared Album, fill in the name you like, and click "Next".
In the next step, fill in the objects that need to be invited to share. You can enter them directly or import them in the address book.
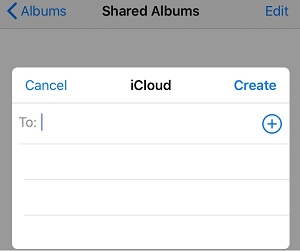
After writing, click Create to generate a shared album. Click the icon - then click + to choose to add the photo you want to share. Finally, click "Done" in the upper right corner. In addition, you can fill in the text introduction or click Post directly to complete.

Part 2. How to Share iPhone Photo Albums on Computer
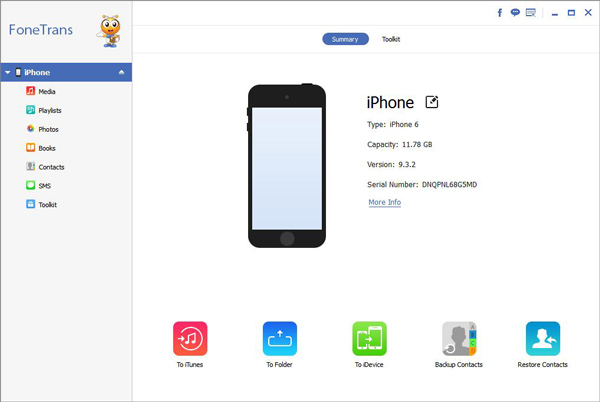
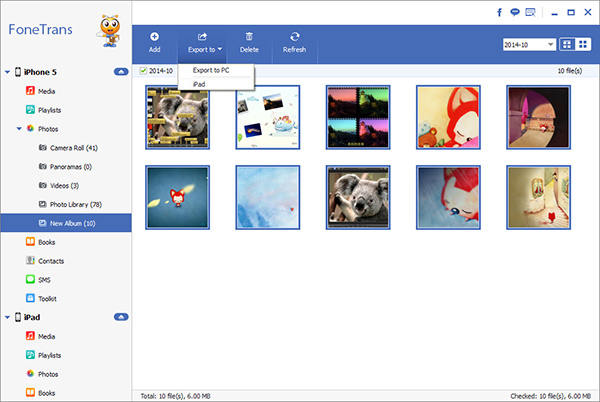
With the help of the third-party software, iPhone Data Transfer, you can transfer data from iPhone to computer and vice versa freely. iPhone Data Transfer is one of the leading transfer programs for Apple users to transfer data between an iPhone/iPad/iPod Touch and computer. You can not only transfer photos freely between iPhone and computer, but also select specific videos, files, messages and contacts, etc. With the efficient process and advantageous features, it is the top choice for you to move your iOS data freely.


Part 3: How to Share Photo Albums on iPhone with iTunes
iTunes provides the function of managing iPhone data and supports sharing your iPhone photo album with computer.1. Confirm that your computer has installed the latest version of iTunes Connect the iPhone to the computer with the USB cable to make the device recognized.
2. After identification, click the mobile device symbol in the upper left corner of the screen to view your iPhone information. On the left menu of the interface, select the "Photos" tab, then check "Sync Photos".3. Click Copy Photo Source: Via the drop-down menu to display the options. Select the location of the album in the interface. After that, click on the "Selected folders" option and under the "Folders" section select the album you want to share. Click the "Finish" button to sync or transfer the album to your computer.
As a reminder, iTunes is only found on Windows and older macOS versions. For newer versions of macOS you can use the Finder program to transfer your data.For important photos, as well as other data, backing them up in time is the most effective way to ensure data security. Whether it's backing up to iCloud, iTunes, or the cloud. You can also use iPhone Data Transfer and iPhone Data Recovery to back up important data directly to your computer. For the latter two backup methods, you can preview and select the data to be transferred, whether you want to back up all the data or selectively back up specific file types.

