How to Transfer Notes from iPad to Computer
The Note app is a great way for you to capture a quick thought, shopping lists, and more. Having a iTunes backup file doesn’t mean that you can recover the deleted data by direct sync iPad to iTunes. Whether you transfer your iPad notes to your computer for backup purposes to prevent data loss, or for easier access to your notes on your computer, you need to find a convenient and safe way to transfer your data.
Now, this article will introduce you to three methods to transfer data, you can choose the most suitable method for you to complete the data transfer.Part 1. Transfer Notes from iPad to Computer via iCloud
With the help of iCloud, you are able to keep your notes updated across all your Apple devices. The same Apple ID supports transfer notes from iPad to computer. Make sure your iPad and PC are under the internet connection.
Step 1. Enter Settings > iCloud on iPad. To check whether Notes is turn on.Step 2. Download and install iCloud Control panel on computer. Log in with your Apple ID.
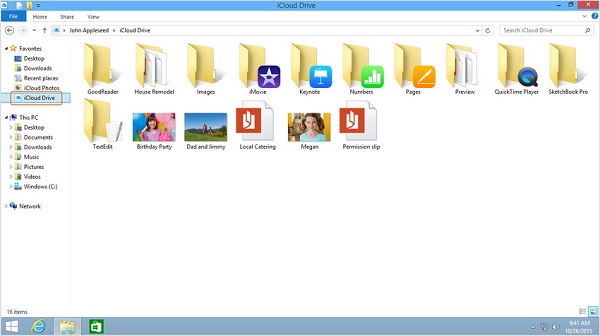
Step 3. Then iCloud will create a folder on the computer. Find out the iCloud folder and locate the notes which you need to transfer from iPad to computer.
Part 2. Transfer Notes from iPad to Computer via iOS Data Recovery
With iOS Data Transfer, there will not be any limitations for you to transfer data from iPad/iPhone/iPod touch to computer any more. This software has the function of previewing and selecting the data which you want to transmit. With a couple of simple clicks, you can transfer notes from iPad to computer without hassle.I. Transfer Notes with Recovery Feature
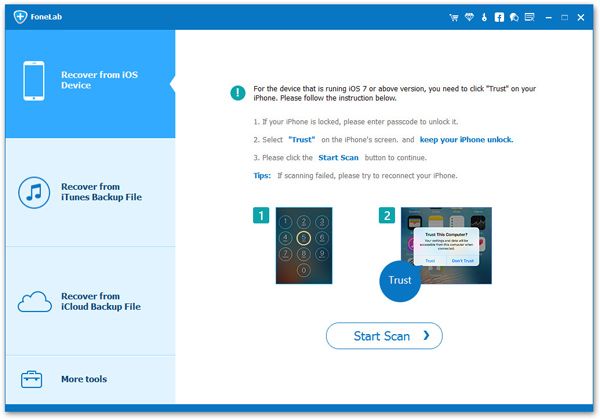
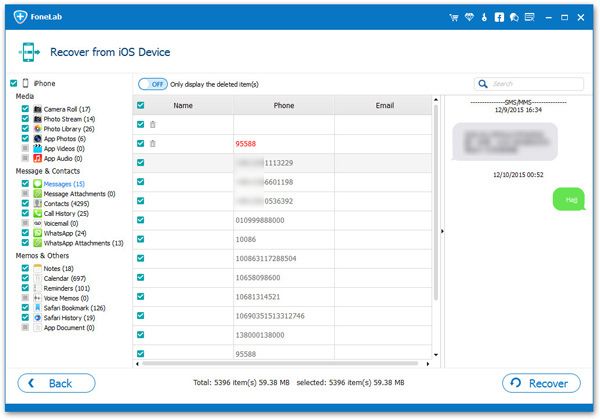
Step 1. Run the iOS data recovery software on computer after you install it, tap on "Recover from iOS Device" option, link your iPad to the software with a usb cable, then click "Start Scan" button after the software detect iPad.
II. Transfer Notes with Backup Feature
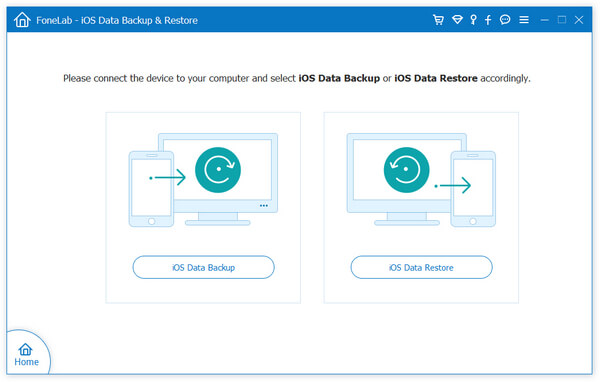
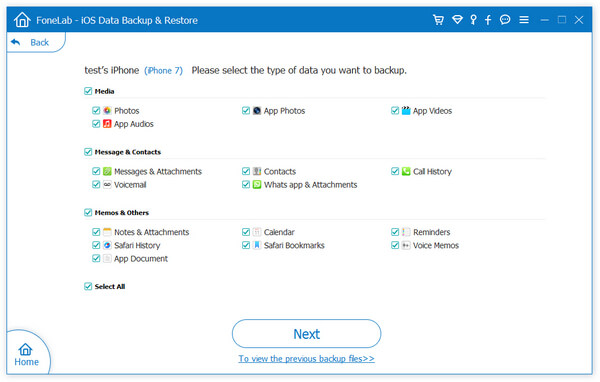
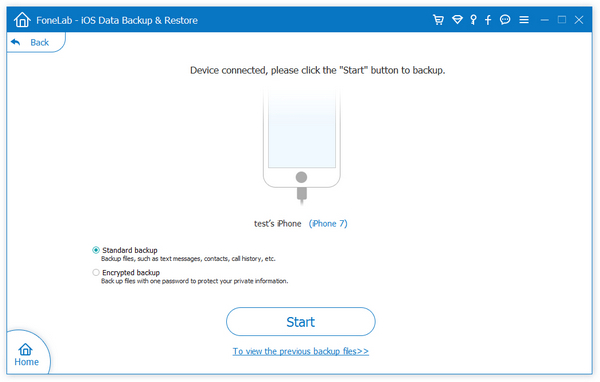
Step 1.Run iOS data recovery software and select "iOS Data Backup & Restore" > "iOS Data Backup" option.


Part 3. Transfer Notes from iPad to Computer via Mobile Transfer
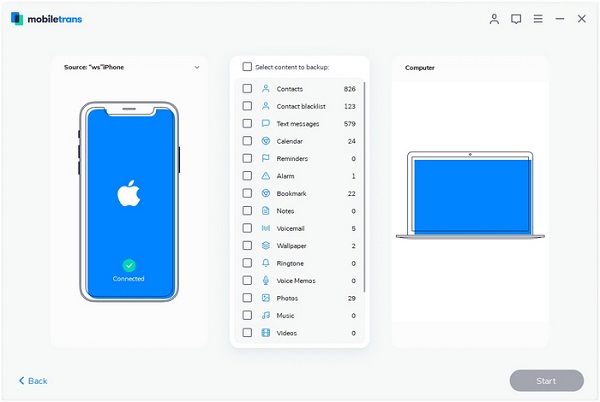
Mobile Transfer supports manage and transfer mobile data with ease, like transfer data from phone to phone, from tablet to phone, and from tablets to computer, etc. The steps to transfer notes from iPad to computer are easy to follow Just within a few click, you can transfer them effectively.
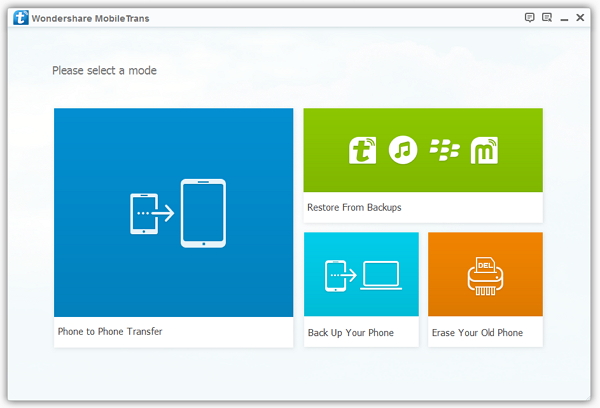
Step 1. Run the Mobile Transfer program and go to "Back Up Your Phone" option in the new windows.